AI Photo Upscaling for Old Photos: Natural, Sharp Results
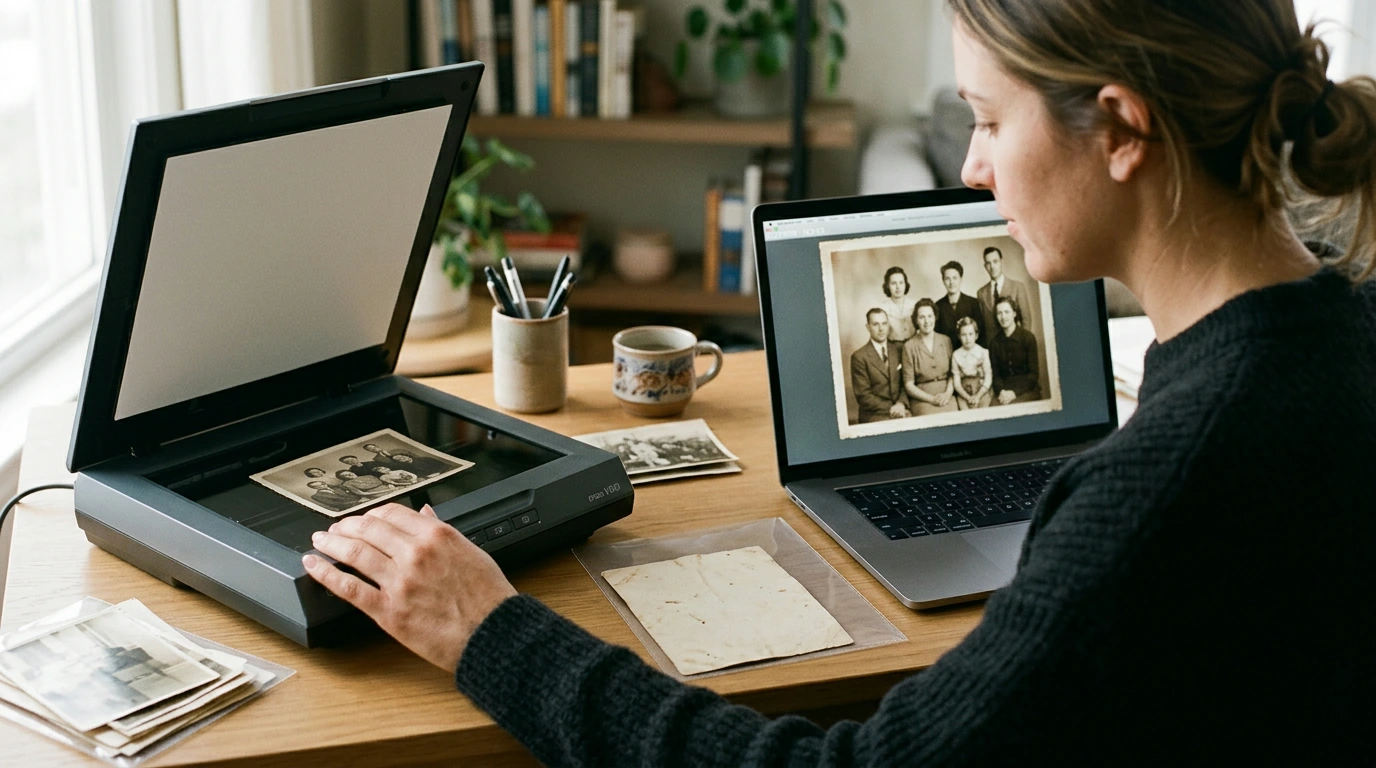
Pixel Perfect: Bringing Old Photos to Life with AI
Old family photos often carry priceless stories—but age, low resolution, and scanning artifacts can hide details and reduce print quality. AI upscaling can rebuild clarity, improve edges, and reduce noise while preserving the original character of the image. The most satisfying results come from treating AI as a careful restoration assistant: strengthen what’s already there, avoid “hyper-real” edits, and keep a faithful master copy for the future.
What AI upscaling actually changes (and what it can’t)
AI upscaling increases pixel dimensions and predicts missing detail using learned patterns. It doesn’t “reveal” information that was never captured; it estimates what plausible detail might look like based on the pixels it has.
When the source image is decent (even if small or slightly blurry), AI enhancement often delivers cleaner edges, more readable facial features, reduced JPEG artifacts, and a smoother overall look that holds up better on modern screens and prints. The trade-off is that aggressive settings can invent textures, over-smooth skin, or subtly shift a person’s likeness—especially when face enhancement is enabled.
The best candidates tend to be slightly blurry scans, small prints, compressed digital copies, and photos with mild damage (dust, light scratches, minor fading). Images with severe missing regions or big tears often need manual repair first, so the model doesn’t “reinvent” entire chunks of content.
Typical results and trade-offs when enhancing old photos
| Goal | What AI can improve | What to watch for | Simple fix if it happens |
|---|---|---|---|
| Sharper faces | Eyes, hairlines, edges | Plastic/waxy skin, altered facial features | Lower enhancement strength; add mild grain back |
| Cleaner scans | Dust-like noise, compression blocks | Over-smoothing of film grain | Use noise reduction lightly; keep some texture |
| Better prints | Higher resolution for larger sizes | Halos around subjects | Reduce sharpening; try a different model |
| Restoring contrast | Washed-out midtones | Crushed blacks or clipped highlights | Use gentle curves; compare to original |
Prepare the best possible source image before enhancement
Upscaling rewards good inputs. A clean, well-scanned original gives AI less “guessing” to do and reduces artifacts later.
- Scan prints at an appropriate resolution (often 300–600 DPI for most family photos; higher for tiny prints or highly detailed originals).
- Clean the scanner glass and gently remove surface dust from prints to cut down on time-consuming cleanup.
- Capture in a lossless or high-quality format when possible so compression artifacts don’t get amplified.
- Crop and straighten first; remove large borders so processing focuses on the photo itself.
- If there are heavy scratches/tears, repair major damage before upscaling so the model doesn’t “invent” missing areas.
For preservation-minded handling and storage guidance beyond digitizing, the Northeast Document Conservation Center’s resources are a solid reference: NEDCC — Preservation Leaflets.
A practical workflow for natural-looking AI upscales
A consistent workflow helps keep results believable—especially across an entire album where you want faces, textures, and tone to match from photo to photo.
- Start with a conservative upscale (2×) and review at 100% zoom; only increase scale if the image holds up.
- Prioritize authenticity: keep era-appropriate texture (film grain, slight softness) rather than forcing a glossy, modern look.
- Use side-by-side comparisons with the original to catch identity drift (especially around eyes, mouth, and jawlines).
- Enhance selectively when possible—faces may need different settings than backgrounds, uniforms, or text.
- Finish with gentle tonal adjustments (exposure, contrast, white balance) after upscaling, not before, to avoid emphasizing noise.
Settings that matter most: scale, denoise, and sharpening
Most “AI restoration” problems come from three sliders that were pushed too far. Keeping them restrained usually produces a better, more faithful image.
- Scale: 2× is often enough for sharing and moderate prints; 4× can work for small originals but increases the chance of artifacts and invented detail.
- Denoise: too much removes natural texture and makes faces look waxy; too little leaves scanning noise that can look harsher after upscaling.
- Sharpening: adds edge contrast; overdoing it creates halos around heads, crunchy hair, and jagged lines on collars and jewelry.
- Face enhancement: can help eyes and mouth detail, but can also change likeness—use sparingly and verify against the original scan.
Color, black-and-white, and the “restored” look
Exporting for sharing, printing, and archiving
For long-term digital care and practical personal archiving habits, the Library of Congress offers an excellent overview: Library of Congress — Preserving Personal Digital Materials.
A guided approach for consistent results
For a step-by-step, end-to-end process focused on old-photo upscaling with AI, use Pixel Perfect: Bringing Old Photos to Life with AI – The Ultimate eBook Guide on AI for Upscaling Old Photos. For households that also want a simple system for labeling and organizing what stays, what’s shared, and what’s archived, Waste Wise: A Home Recycling Guide can pair well with a declutter-and-preserve weekend.
FAQ
Will AI upscaling make an old photo look fake?
It can if settings are too aggressive or if face enhancement “rewrites” features. Conservative scaling, restrained denoise/sharpening, and keeping some natural texture (including light grain) usually preserves a believable, period-accurate look.
What scan resolution should be used before upscaling?
For most family prints, 300–600 DPI is a practical range, with higher DPI reserved for small photos or highly detailed originals. A clean, straightened scan saved as a high-quality master gives AI the best starting point and reduces artifacts later.
How can artifacts like halos and waxy skin be reduced?
Lower sharpening and denoise first, then consider switching models or using selective enhancement so faces and backgrounds aren’t treated the same. If the image still looks overly smooth, adding subtle grain at the end can restore a more natural texture while keeping the added clarity.












Leave a comment